
Beginner Solar Eclipse Photography Tips for Egypt
A practical beginner’s guide to photographing Egypt’s 2027 total solar eclipse safely, from filters and camera settings to composition.
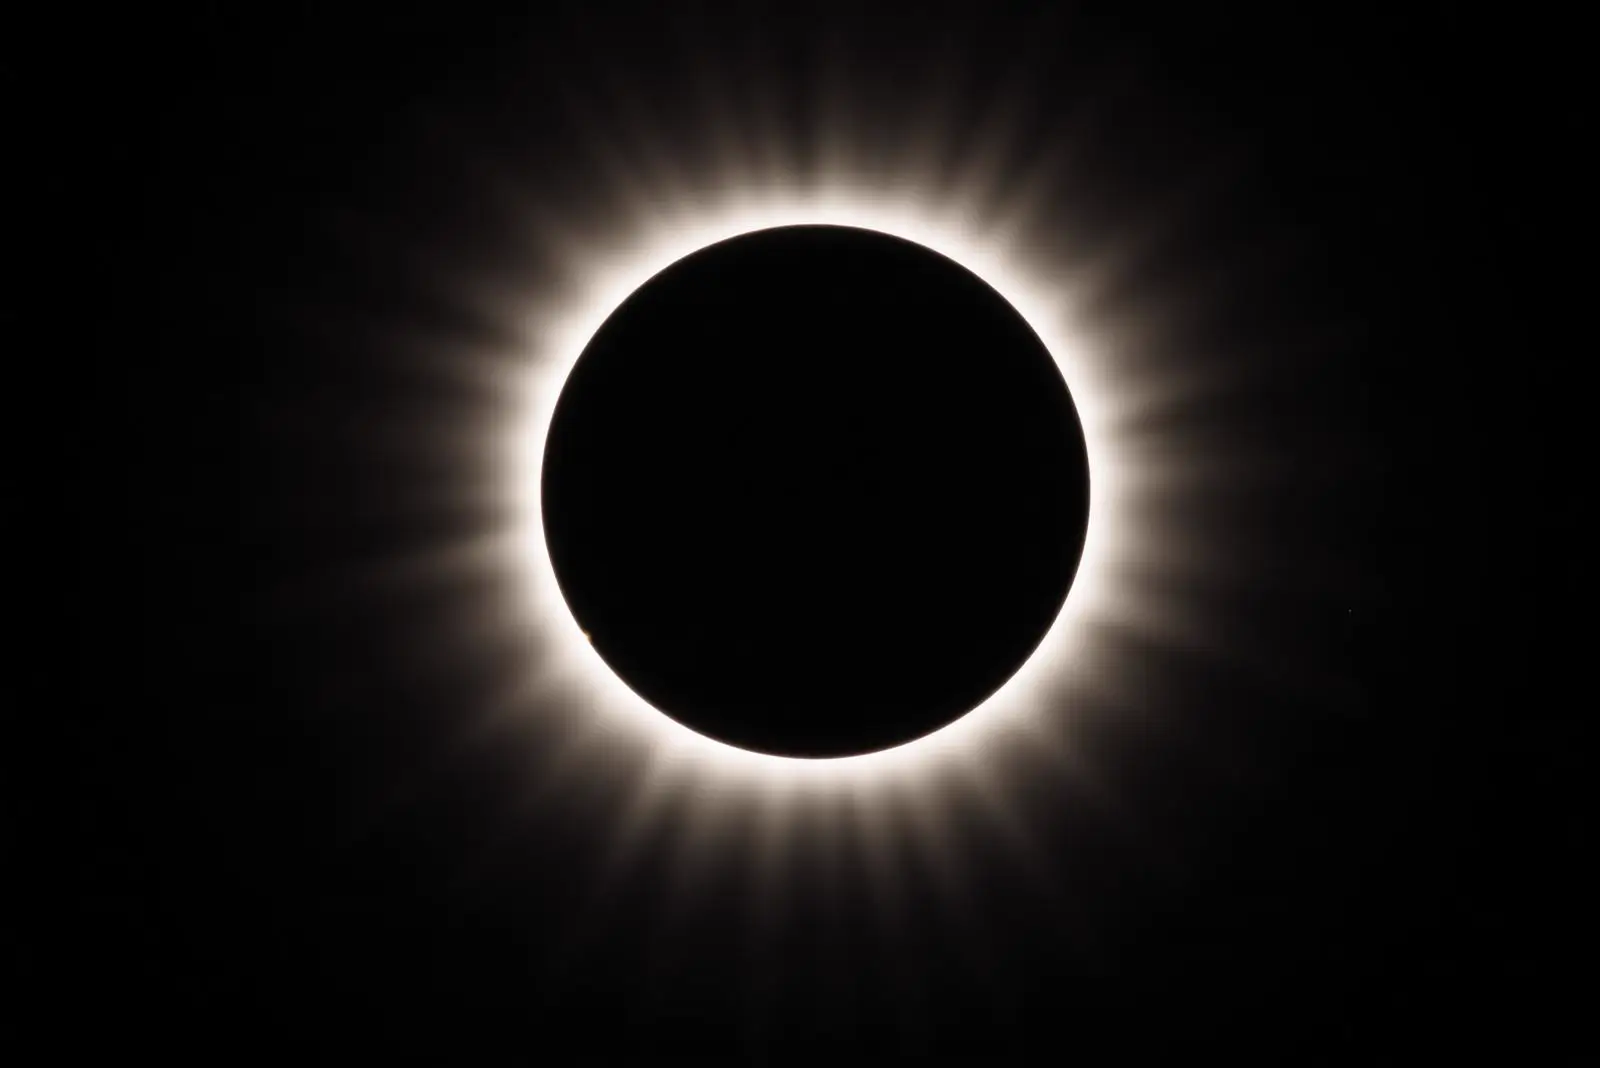
Photographing a total solar eclipse need not require professional equipment, but it does demand preparation and strict attention to eye and camera safety. These solar eclipse photography tips for beginners Egypt travellers can use are tailored to the total eclipse of 2 August 2027, when Luxor will experience about 6 minutes 23 seconds of totality. It will be the longest total solar eclipse visible on land between 1991 and 2114.
Solar eclipse photography tips for beginners Egypt visitors
The first principle is simple: practise before arriving in Luxor. During an eclipse, changing light, excitement and unfamiliar controls make even basic tasks harder. Learn how to adjust shutter speed, aperture and ISO without searching through menus. Practise photographing the unobscured Sun with the correct filter, then rehearse removing and replacing that filter without disturbing the camera.
Decide what you want to achieve. A close view of the corona requires a telephoto lens, whereas a wider lens can place the eclipsed Sun above palms, desert terrain or the Nile landscape. Beginners often obtain better results by choosing one composition rather than trying to operate several cameras.
Protect your eyes and equipment
Except during the total phase, the Sun must only be viewed through certified eclipse glasses or purpose-made solar viewing equipment. Ordinary sunglasses are not sufficient. Never look at the partial eclipse through an unfiltered optical viewfinder, telescope, binoculars or camera lens.
Your camera lens also needs a secure solar filter during every partial phase. Use a filter intended for solar observation and fitted over the front of the lens. Neutral-density filters, polarising filters and improvised materials are not safe substitutes. Inspect the solar filter beforehand for holes, tears or loose fittings.
During totality only, when the bright solar surface is completely covered, the solar filter can be removed to photograph the corona. It must go back on before the first direct sunlight reappears. Establish a clear sequence and, if possible, set an audible timer so that you are not relying solely on visual cues.
Choose a manageable camera kit
A mirrorless or DSLR camera with manual exposure control offers the most flexibility, but a compact camera or phone can still record the atmosphere and changing landscape. For a beginner using an interchangeable-lens camera, a practical kit includes:
- A camera with a fully charged battery and an empty, formatted memory card
- A sturdy tripod with controls you have already practised using
- A certified front-mounted solar filter sized for the chosen lens
- A remote shutter release or the camera’s short self-timer
- A wide-angle lens for landscape compositions
- A telephoto lens for a larger image of the Sun
- Spare batteries, memory cards and a blower for dust
- A light-coloured cloth to shade equipment between sequences
A focal length of roughly 300–600mm on a full-frame camera can produce a prominent solar disc, though framing becomes harder as magnification increases. A wider focal length is more forgiving and makes it easier to include the Egyptian setting. Avoid changing lenses unnecessarily in dusty conditions.
Focus and exposure before the eclipse
Autofocus may struggle with a filtered Sun. Before the eclipse begins, mount the filter, place the camera on the tripod and use live view to centre the Sun. Magnify the live-view image, focus manually on the solar edge, then secure the focus ring carefully. Recheck focus periodically because heat can affect some lenses.
For the partial phases, use manual exposure and start with a low ISO, such as ISO 100 or 200. The correct shutter speed and aperture depend on the filter, lens and atmospheric conditions, so test in advance and check the histogram without allowing highlights to clip. Take several exposures around your chosen setting rather than trusting a single frame.
The corona during totality has an enormous brightness range. No single exposure captures all of it. Keep the aperture and ISO steady while taking a sequence of shutter speeds, from short exposures for the inner corona and prominences to longer ones for the faint outer corona. Exact settings vary, making prior rehearsal more useful than memorising one recipe.
Plan the transition into totality
The moments immediately before and after totality are the most demanding. Write down a short operating sequence and attach it to the tripod:
- Confirm that the camera is recording correctly during the partial phase
- Listen for the agreed countdown or timer
- Remove the solar filter only once totality has begun
- Start the prepared exposure sequence without changing composition
- Pause briefly to observe totality directly with the unaided eye
- Replace the filter before direct sunlight returns
- Check that it is secure before continuing partial-phase photographs
Automatic exposure bracketing can help, provided you understand how it works on your camera. Disable flash, as it cannot illuminate the eclipse and may distract others. Turn off long-exposure noise reduction if it prevents the camera from taking another frame immediately.
Compose an image that belongs to Egypt
A tightly framed corona could have been photographed from any eclipse path. Egypt provides opportunities for a broader visual story: the Nile, river boats, palms, desert ridges and the silhouettes of fellow observers can establish scale and place.
Check the Sun’s expected position from your specific observation site rather than assuming a generic direction. A planning application can help you anticipate height and bearing, but the final foreground depends on site access and safety arrangements. Do not leave an organised viewing area in search of a last-minute composition.
A Nile-based itinerary can make the eclipse part of a longer photographic journey. The 9-Day Nile Eclipse Odyssey aboard MS TIA combines the Luxor eclipse with a Nile cruise, providing opportunities to photograph temples, river life and changing light beyond eclipse day. The 9-Day Nile Eclipse Odyssey aboard MS Q is another cruise-based option for travellers comparing arrangements around the same event.
Photographing with a phone
A phone is well suited to wide scenes, people and the changing quality of light. Do not point it at the partial Sun without a suitable solar filter over the camera lens. Holding eclipse glasses in front of a phone is awkward and can allow unfiltered light to enter around the edge; a securely fitted, purpose-made solution is preferable.
Use a small tripod, turn off the flash and lock focus and exposure if your phone permits. During totality, remove the solar filter and include the horizon or foreground rather than relying on digital zoom. The eclipsed Sun will appear small, but the resulting image may communicate the experience more effectively than an unstable close-up.
Prepare for Luxor’s conditions
August in Upper Egypt is typically very hot and bright. Protect yourself and the equipment from prolonged direct sun, drink water regularly and wear suitable sun protection. Allow cameras and lenses to acclimatise gradually when moving from air-conditioned interiors into outdoor heat, as abrupt temperature changes can cause condensation.
Charge every battery the night before and format cards only after backing up existing files. Set the camera clock correctly, synchronise multiple cameras if needed and pack equipment in a consistent order. On eclipse morning, arrive with settings largely prepared rather than assembling an unfamiliar system on site.
The safest and most satisfying beginner plan is modest: one camera, one composition and a rehearsed sequence. Leave time to look up during totality rather than spending all 6 minutes 23 seconds checking a screen. Travellers considering how to incorporate the event into a wider Egyptian journey can browse all eclipse and Nile tours or contact our Egypt specialists about itinerary and observation arrangements.